Why the Same iPhone Photo Looks Worse Every Time You Touch It
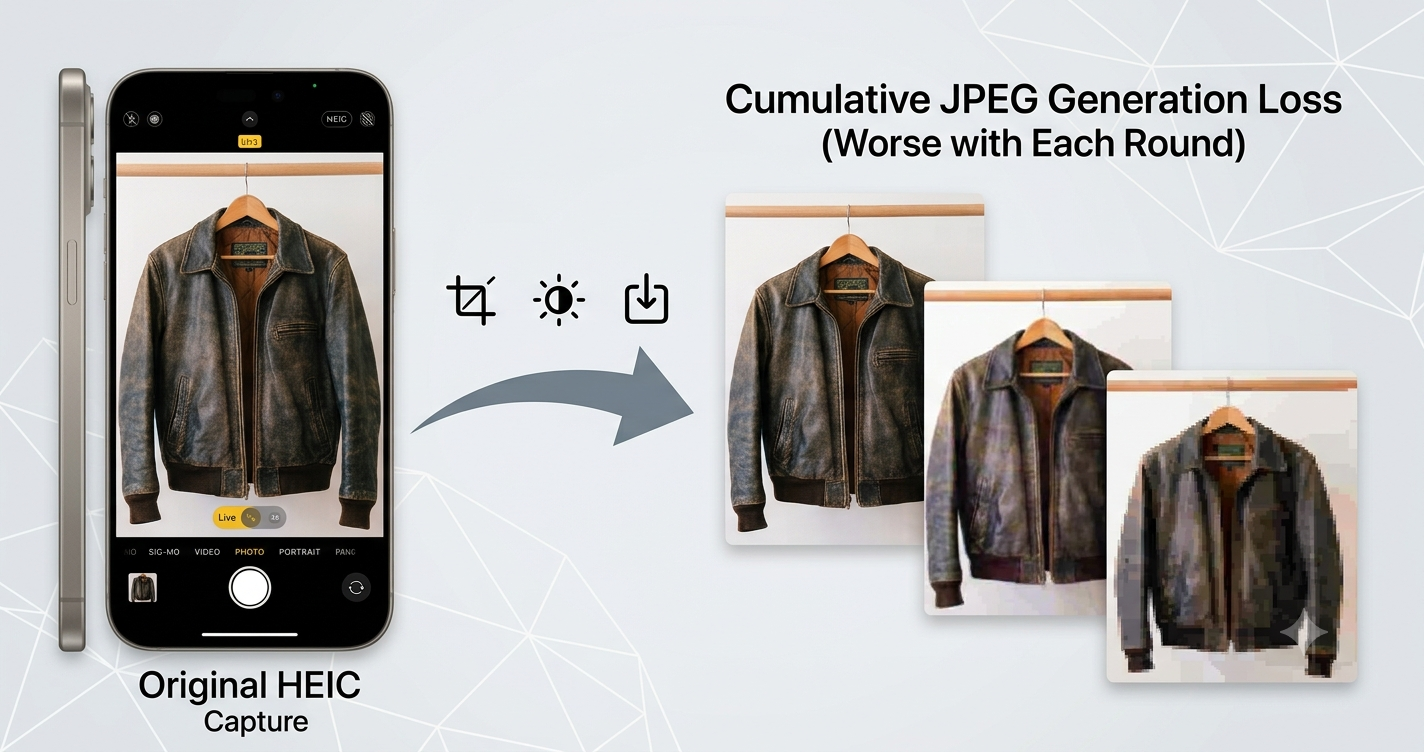
A woman selling vintage jackets on Depop noticed it first in her thumbnails. She'd photographed the jacket on her iPhone, which — like most iPhones set up in the past several years — saved the shot as HEIC by default. To list it, she exported a JPEG copy for the app to accept. That JPEG looked crisp in June. By August, after being cropped once to fix the framing and adjusted again for brightness before a re-listing, it had gone soft around the edges — not blurry exactly, just less defined, like it had been photocopied one too many times. She assumed her camera was at fault, or maybe the app's upload compression. Neither was the real cause. The HEIC original sitting untouched in her camera roll was fine. What had degraded was the JPEG copy, and it had degraded a little more with every save.
This exact pattern plays out constantly, and almost nobody traces it back to where it actually starts.
Three Formats, Doing Three Different Jobs
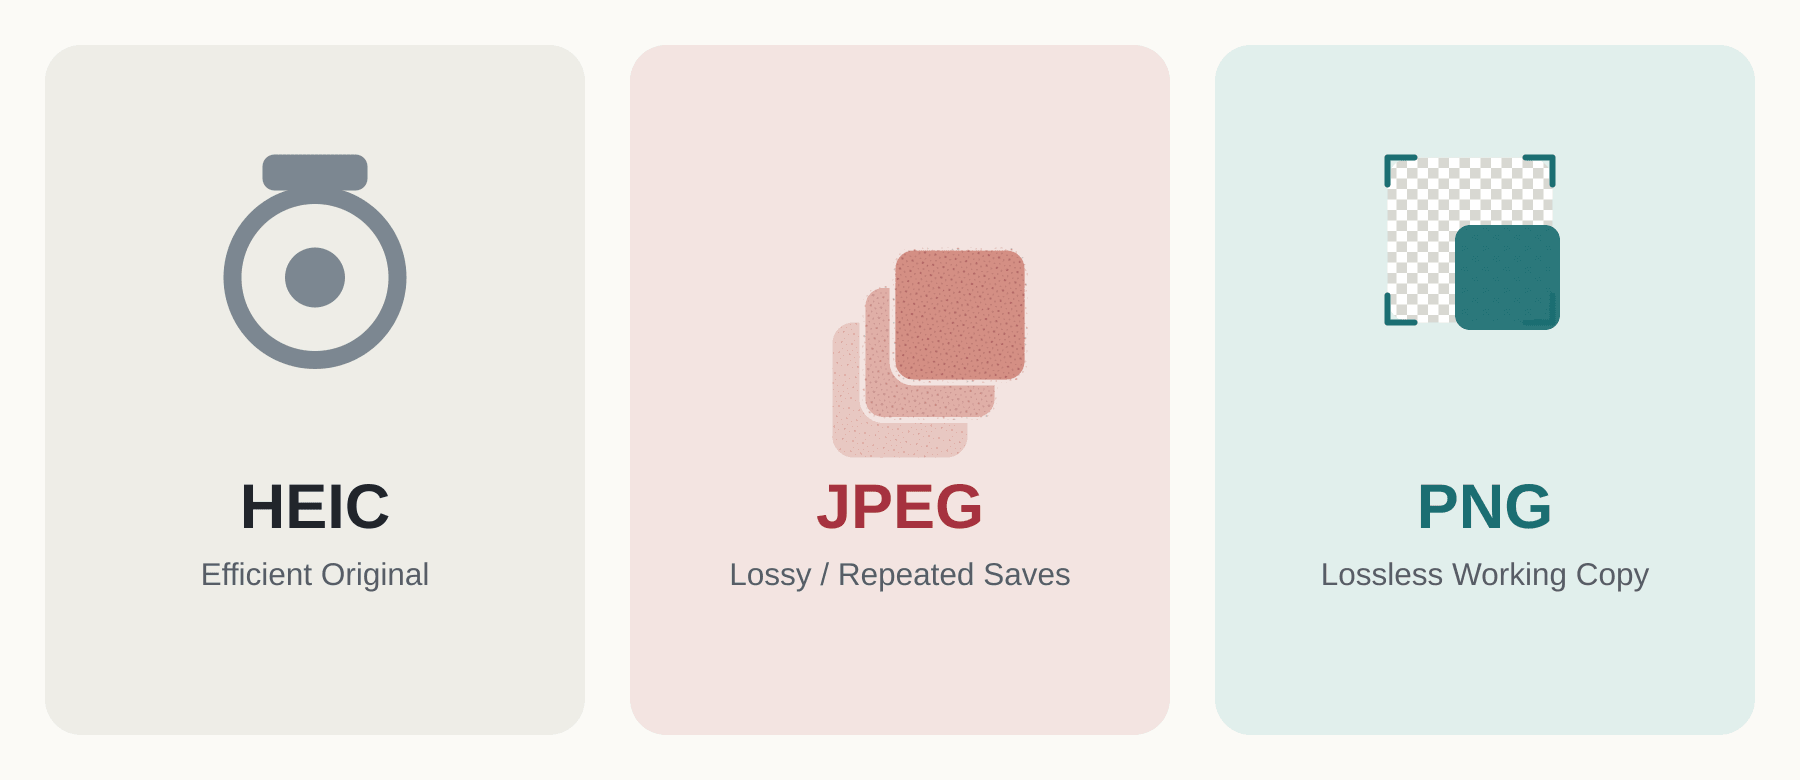
The confusion usually comes from treating HEIC, JPEG, and PNG as interchangeable — different flavors of the same thing. They're not; each one is built around a different priority.
HEIC is what the iPhone camera captures by default. It's efficient — roughly half the file size of an equivalent JPEG — which matters when you're shooting hundreds of photos on limited storage. But it isn't really built to be opened, edited, and re-saved repeatedly outside Apple's own apps. Most other software converts it to something else the moment it's touched, usually without asking.
JPEG is where it typically lands next: the default export target for almost every editor, messaging app, and marketplace, because it's small and universally recognized. The trade-off is that JPEG is lossy. Every time it's saved, the format throws away some visual information to keep the file size down, and it has no memory of what it already discarded the last time.
PNG works differently from both. It's lossless — nothing gets discarded on save, ever — and it stores transparency with real precision rather than a simple on-or-off toggle. The file is larger as a result, but nothing is lost no matter how many times it's opened again.
| Format | Compression | Re-saving | Transparency | Best use |
|---|---|---|---|---|
| HEIC | Efficient, lossy | Not built for repeated edits | No | Original camera captures |
| JPEG | Lossy | Degrades with each save | No | Quick sharing, casual web use |
| PNG | Lossless | Safe for unlimited saves | Yes (256 levels) | Editing, text, graphics, transparency |
Where the Damage Actually Starts
A photo that starts as HEIC doesn't usually stay that way for long. The moment it's shared with someone on Android, uploaded to a marketplace or CMS that won't accept HEIC, or opened in an editor that converts on import, it typically becomes a JPEG — often without anyone choosing that step deliberately. That conversion itself isn't the problem. The problem starts afterward, once that JPEG gets opened and saved again. And again.
Crop it in the Photos app: saved. Add a caption in Canva: exported, saved. Adjust the exposure a month later in a listing tool: saved once more. Each of those saves is a fresh round of lossy compression, discarding a bit more data than the last, with no memory of what was already lost. Individually, none of these edits look aggressive. But by the fifth or sixth round, fine edges have softened, smooth gradients show visible banding, and small text develops a faint halo it didn't have originally. This is generally known as generation loss, and it's cumulative — a side effect of the JPEG stage, not something inherent to HEIC itself.
What Actually Changes With PNG
Converting that working file to PNG at some point doesn't fix things through a filter or a setting. It changes the underlying math. PNG compresses the way a ZIP file does — by finding patterns and repetition — without ever touching the pixel values themselves. Whatever goes in comes back out exactly the same, whether it's opened once or fifty times.
The transparency handling works on the same principle. PNG stores 256 levels of opacity per pixel, not just transparent-or-not. That's what allows a soft, feathered edge around a subject cut out of its background — something JPEG can't do at all, since it has no transparency channel to begin with. A JPEG is always, structurally, a rectangle.
Where That Precision Actually Shows Up
These aren't abstract technical points. They surface in specific, ordinary situations.
A reseller cutting a product out of its background for a marketplace listing needs that gradual, feathered edge — a hard cutout with jagged pixels around the collar of a jacket reads as amateurish next to a listing where the product simply sits on white. That softness only exists because PNG can store partial transparency; there's no equivalent workaround in a format that can't store transparency at all.
A real estate listing photo often passes through several hands before it goes live — the agent crops it, a stager adds a watermark, someone else adjusts it again before the MLS upload. If the working file is a JPEG the whole way through, the degradation from each of those touches is often small enough to miss individually but obvious by the time the listing is public, especially once a buyer zooms in on their phone.
Anyone who's photographed a printed page or a whiteboard on their iPhone and later needed that image in a document or support article runs into a version of the same thing from another angle. Small text is exactly where compression artifacts show up first — the faint ringing around each character can turn a perfectly legible photo slightly fuzzy after just a couple of re-saves.
When PNG Is Actually the Right Call
None of this means every iPhone photo needs to become a PNG. A photo taken for a quick text message, posted once, and never touched again is perfectly fine as a JPEG — the file stays small, and it won't be resaved enough times for the loss to matter.
PNG earns its place under more specific conditions: when a photo is going to pass through several rounds of editing, when it needs a lossless workflow because the source matters (a product shot, a document, a design reference), when it contains text or fine graphic detail that can't afford to blur, when the background needs to come out cleanly, or when you want one untouched working copy to return to no matter how many exported versions get created downstream. In those cases, converting the original HEIC directly to PNG — rather than routing it through JPEG first and losing ground before the real editing even begins — keeps the working file exact from the start. A browser-based converter such as heic to png handles that direct HEIC-to-PNG step without an intermediate JPEG stage; the specific tool matters less than skipping that detour.
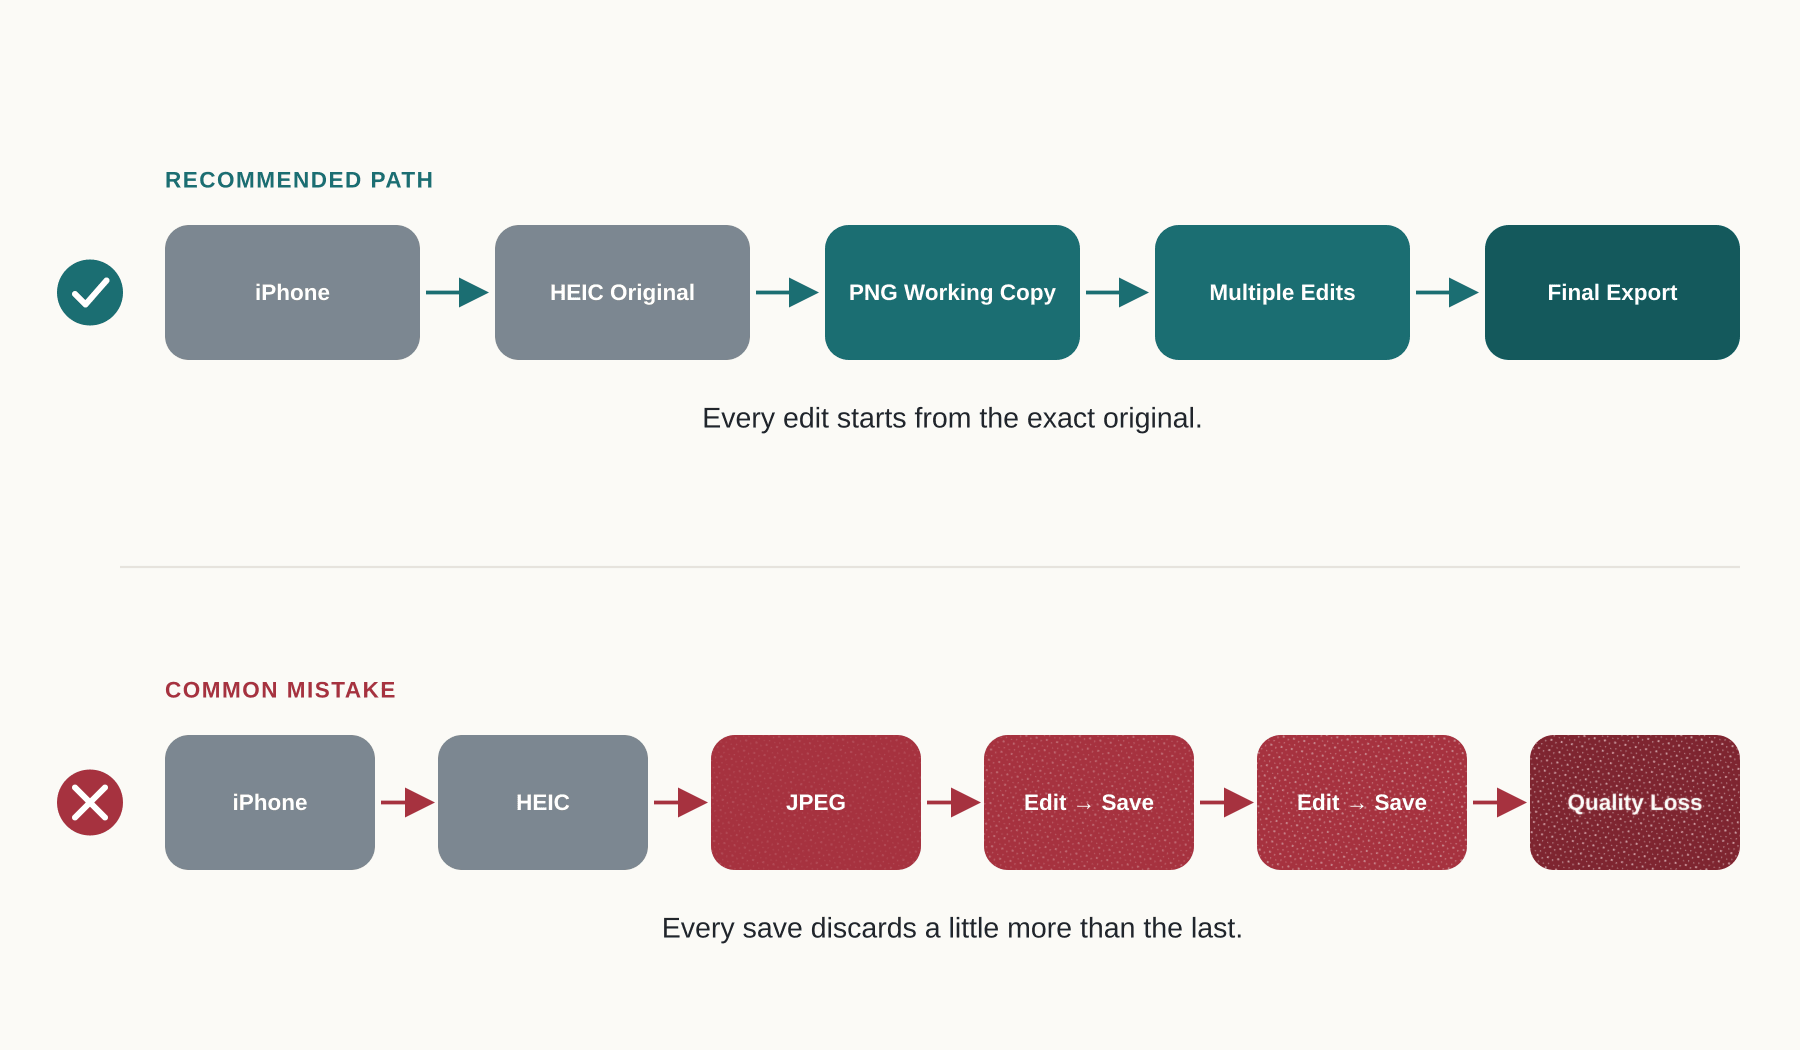
Most people trace image quality problems to their camera, their screen, or their own editing choices. Rarely do they suspect the file format sitting quietly underneath every save — or realize that the fix isn't a rule to apply to every photo, just a decision to make deliberately for the ones that are actually going to be worked on.